Tagged with
3d scanning
Latest Posts
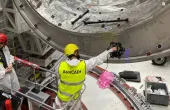
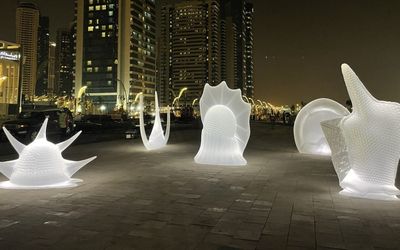
Developing a new type of train that could transport luxury tourists from Tokyo to mountain resorts, such as Hakone and Mount Fuji, and beaches, such as Odawara and Enoshima, in less time. That was the Odakyu Electric Railway’s mission when the company undertook the design of the Romance Car in 1957.
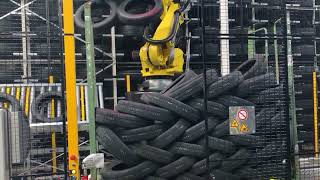
TireDepal by AROTEC allows robots to fully automatically depalletize all common tire carriers with unprecedented performance and flexibility. The solution harnesses the power of Photoneo 3D vision, which can cover a large scanning area and provide high-quality 3D data even for challenging materials such as black tires.
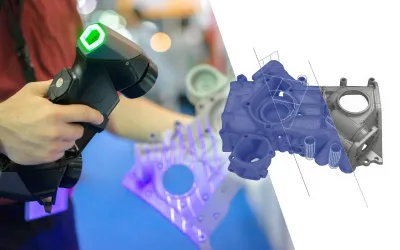
Results Revealed and Facts Exposed: Benchmarking Two 3D Scanning Metrology Solutions to Save Inspection Time
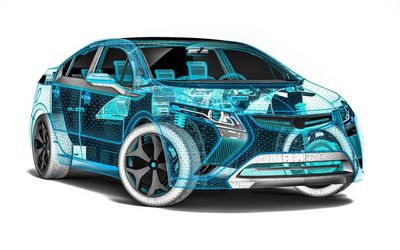
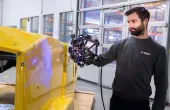
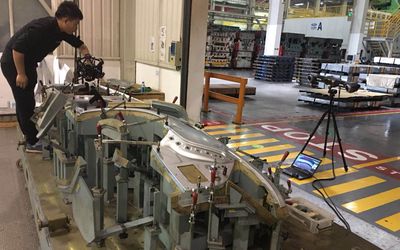
More time—this is a luxury that many people wish they could afford. What about engineers who work long hours to design and manufacture molds to produce automotive performance parts, such as engine devices, transmissions, and electronic controls? What would they do if they could save 85% of the time required for mold inspections?
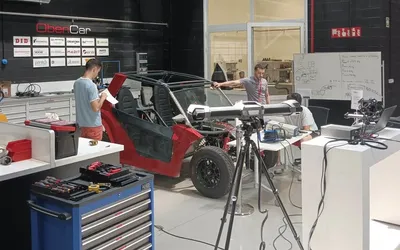
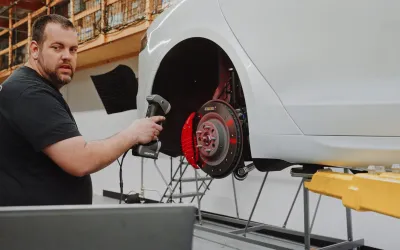
Automotive Intelligence Center: 3D scanners - a key aid when training for a career in the automotive industry
AIC-Automotive Intelligence Center, based in Amorebieta-Etxano, Bizkaia, is a European center for the generation of value for the automotive industry based on a concept of open innovation where companies improve their positioning through cooperation.
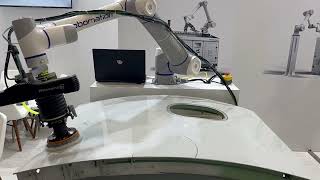
Robomation Robot Technologies Inc. developed a solution for automated polishing / sandblasting of objects, using Photoneo 3D camera MotionCam-3D attached to the robotic arm. MotionCam-3D has been chosen for this application because it provides a number of unique benefits, including the ability to scan the object's surface in motion with utmost precision and efficiency.
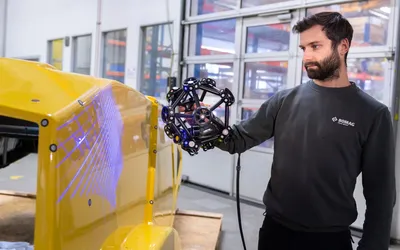
BOMAG’s team was searching for 3D measurement solutions to add to its portfolio that would enable uncomplicated, flexible and non-contact measurement of free-form surfaces, such as castings and plastic parts. The ideal 3D measurement solution also needed to be portable so that scanning of large components and the highest quality standards could be guaranteed.
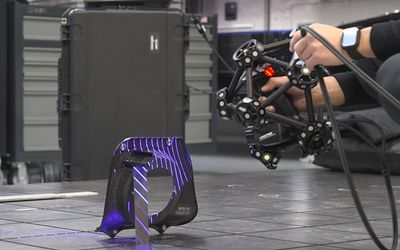
This blog aims to illustrate the different manufacturing challenges leading to product defects and highlight how 3D scanning technology allows for more features and parts to be inspected. It also describes how QC managers can shorten inspection time and reduce production costs associated with scraps.
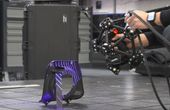
Endurance racing does not only require the best and latest technology. It also involves having the ability to harness it for multiple hours in a row without causing disaster. When you are competing at the highest level and against the best of the best, attention to detail is everything. This means leaving no stone unturned, no issue unresolved. Only then can a racing team truly be at the top of its game.
First article inspection (FAI) is a crucial step in the manufacturing process. The quality control (QC) team needs to optimize this phase of inspection in order to limit the back and forth between conception and fabrication. The QC team must not only correctly identify the defects, but also provide relevant data, measurements, and results for solving the identified problems.
The main—if not the sole—purpose of reverse engineering is to gain knowledge about the design and development steps shrouded in the guise of a finished product. But what is backwards engineering if not a means to address practical issues such as machine downtime, part replacement, and maintenance or repair challenges?
